Showing posts with label Kids crafts. Show all posts

8.1.12

Sewing with the Kids

The kids are back in school today after a two week break.  Over the holidays (and here and there over the past months) we were able to do a bit of sewing together!

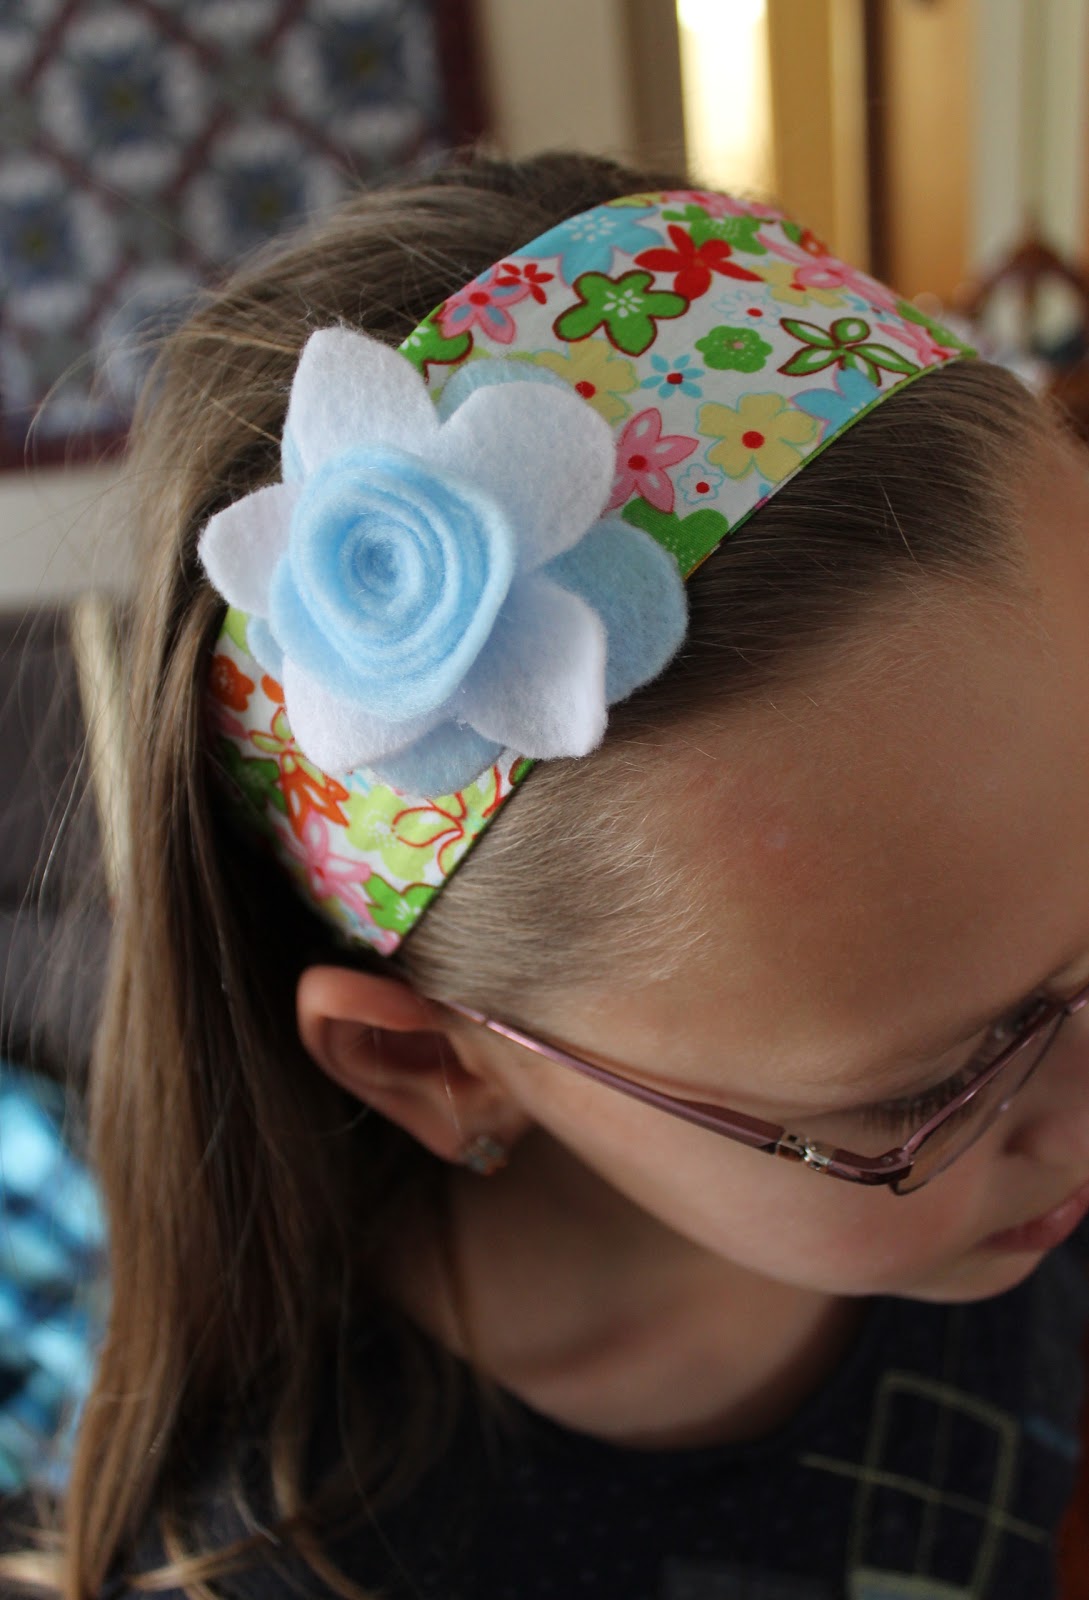
One day Anneke had a friend over and we made headbands together.  This was her friends first time using the sewing machine - she was pretty excited.  The felt flowers are made using this tutorial and the pattern for the headband is here.  We attached the flowers using my new snap pliers :)  (Yes, after Alisa raved about hers Kamsnaps had, and still has, a sale so I bought one too - I love it!)
 The girls had fun picking there own fabrics from my scraps.  The middle one is my favorite.
excuse the wrinkled backdrop - I quickly grabbed a receiving blanket and snapped the picture as A's friend was leaving

Tessa also got to sew for the first time! She sewed up her froggy that we had ready to go for a long time. Anneke sewed hers quite a few months ago and I had made one for Sophie so this was long in coming for Tessa. She loved the fact that she could sew but now I have to watch her because she thinks she can go sew by herself!
I couldn't find Anneke's froggy for the photo shoot :)
Template for the froggy is here

And lastly Tessa and Anneke made this simple scarf for Sophie. So easy but very cute!

One more picture because I just love it!

18.10.10

Kids Crafts

This is a project that my two older kids have been working on off and on over the past half a year or so.  Anneke is finished hers but Lukas is still working on his.

It started with a container of triangle scraps left over from my bright quilt.  They laid them out how they wanted on some fusible web and I ironed them onto a scrap of fabric.  They had a lot of fun picking fabrics and both enjoy the stitching but it does definitely go in spurts of enthusiasm! 

Here's Lukas working on his:
 And here's Anneke's finished "pillow":
I don't know how long it'll stay together but it was fun and their first time using a real needle :)

13.3.10

Spring Break Activities


I had a hard time taking a photo of these, but look so neat hanging in our patio doors.


We took wax paper, an old cheese grater and crayons (old stubby ones.) We grated crayon onto a piece of wax paper. We did different colour combinations. Then put another same-size piece of wax paper on top. Cover your ironing board with an old piece of cotton. Put your wax-paper sandwich on it. Put another piece of cotton on top. Something you don't ever want to use for anything else. Iron it on low, no steam. Take your pressing cotton off and you will have a beautiful pattern of colour. The kids loved it!

Then we traced circles onto the finished wax-paper, cut them out and I sewed them together to form random strings of circles. We had some left-over and I sewed them together on my sewing machine. Much faster! Those ones are hanging in Benjamin's room. Melissa made some hearts which I stitched on the machine. They are in her window.

A fun spring break project for the kids and I!


We've also been to the zoo, played with cousins, read books, played playmobil, gone swimming, visited Oma, cheered on the Bruins (Benjamin) and played games. One more week left. We are hoping to have another good week together. Which means I may not be posting anything for another week. I am managing to sneak in some sewing time though.

3.3.10

Kids Fabric Crafts

My kids love my fabric scraps.  I find them digging in my garbage can by my sewing machine saying "Can I have this one Mom?"  So they "quilt" with paper, glue and fabric!  Here's something we did quite a while ago, using scraps from this quilt, and that I just got around to hanging up and taking a picture.  They are in the kids playroom and are a nice cheerful addition.
(I really can't take pictures in a dark basement!)
The frames are from Ikea and I've had them since I was a teen.  I'm glad I hung onto them :)

Any other non-sewing fabric craft ideas?

29.11.09

Paper Crafting & Star Tutorial

I have children who love to craft. The table is always full of coloring pages, drawings and cut up papers and fabric (they have a lot of fun with my scraps!). The other week I showed them how to make 3D snowflakes that I found from this tutorial. She nicely reposted it this year so I didn't have to go searching through the archives :). My 5 and 6 year old caught on quickly and had a lot of fun!

Here they are, hanging in our front window!My husband also showed them how to make 3D stars and here's a little tutorial on how to make those:

Take two squares of paper the same size. You can get creative and use fancy paper...we just used regular old computer paper.
Fold them both horizontally and diagonally, both ways.Cut down the horizontal lines to within about an inch and a half from the centerFold over all eight triangles to the diagonal linesOverlap the triangles you just folded and glue or tape downGlue your two stars together (or use double-sided tape) and... Ta-Da! You've got a cool 3D star to decorate your home!
Then you can decorate them however you like. Glue and glitter, stickers, plain old colouring as my kids like to do etc.

Have fun!